So I offered to grab on of the spare bolts I've got laying around these days. A little later he sent me a cryptic text message saying that he had "fixed it with a rubber band... two mags, so far so good." Needless to say my mind was racking with how this is possible all the drive home and back out to the range.
Now a little background on Cro. He is an Army Engineer officer, and has a good amount of gunsmith training. He's a smart guy to start with, and if you know anything about Army Engineers, we tend to be the "only one sure way to see if it works!" kind of guys. So he had a thought and ran with it. Since I can, find out what exactly happened after the jump. There's even a video!

Yup, a dirty old rubber band and the excellent Gerber LMF II ASEK I've sang the glories of before.
The extractor spring on the AR simply puts upwards pressure on the back end of the extractor. It's a "push" spring, so what you need is something that will resist compression. Cro thought about those little rubber o-rings that you can get to upgrade your extractor strength (I've got one somewhere, I couldn't actually get the extractor back on with it installed, it was too strong) and figured a good healthy chunk of rubber band should be able to hold up for a little while at least.
Step 1: secure yourself a good chunk of rubber band. Didn't really measure it, kinda used the good old demolitions equation "p for plenty."


Step 2: Roll up the chunk into a little coil. Makes me think of cinnamon rolls. I'm probably just hungry though.


Step 3: Insert roll into the usual extractor spring position. Thankfully our chef had already prepared one for us earlier.

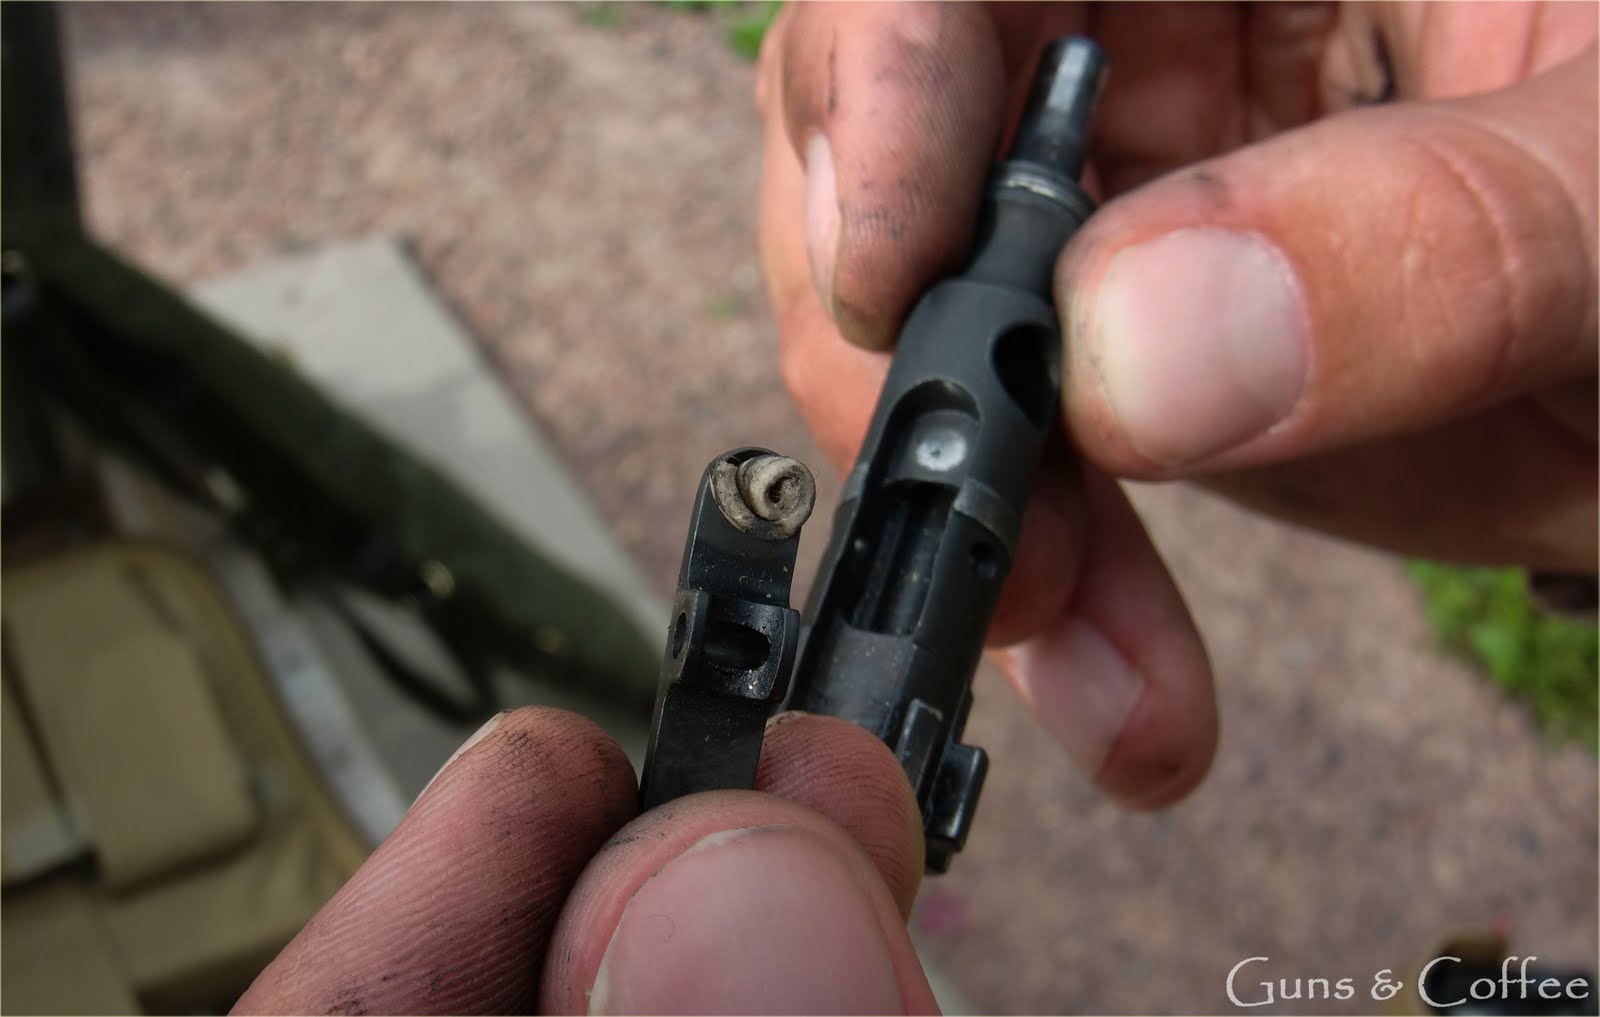
Look at that baby. It's like it was meant to be there.
The piece in the above pics (the installed bit) has a shade over 200 rounds through it at the time of the pictures. Color me quite freakin' surprised.
As promised, here's a short video actually showing the weapon firing with the fix.
No felt difference in operation, although we were being rather conservative (for us) with the amount of rapid firing with the gun in question (especially since we were getting the feel for the ACOG as well.) This by no means a permanent fix, but it's rather reassuring to know that it will work in a pinch, especially since Cro will be in a rather warm and dusty place soon. Personally, the spare bolt in the grip core has served me quite well.
On a little side note, the video was shot with my new Casio up-armored camera. Not bad for a point and shoot with a tiny lens.


6 comments:
I kind of look like a mall ninja with the kufia on...
It was hot and sunny out and it beats the snot out of sunburn.
You should be inspecting your extractor spring tension every cleaning (simply press up on it to see if it feels stiff) and it's not a horrible idea to change it out every 10-20k. I've found the black extractor o-ring a fantastic way to improve extractor reliability and extractor life.
Fantastic! We don't need no steenking spare parts!
tweaker
I think it would be easier to carry a spring on you than a rubber band.
But that's not the spirit of the fix...
Post a Comment